We are excited to announce the latest version of our Web IDE. This complete rebuild of our Web IDE codebase implements feedback we've received from customers over the years and pushes us closer to our 2.0 milestone (more on that soon).
One of the core parts of the Zesty.io experience is authoring code which generates the web pages, APIs, and custom endpoints provided by your instances to your end users. Through referencing Schema fields with the Parsley templating language, authors are able to render dynamic content to generate a myriad of internet-accessible formats from a single content source. For example, Generating a web page, CSV, and JSON API from the same products list.
As we push towards our Zesty.io 2.0 milestone we have been overhauling one major section of the product at a time. This process has allowed us to move our extensive product surface forward while maintaining as few service interruptions as possible. Along with this process we have been rearchitecting the underlying codebase. We are moving to a React/Redux front-end UI, powered by our public v1.0 Instance API. The Web IDE rebuild represents the final major section of our product transitioning to this new stack which sets us up for our long-term goal of open sourcing our front-end codebases.
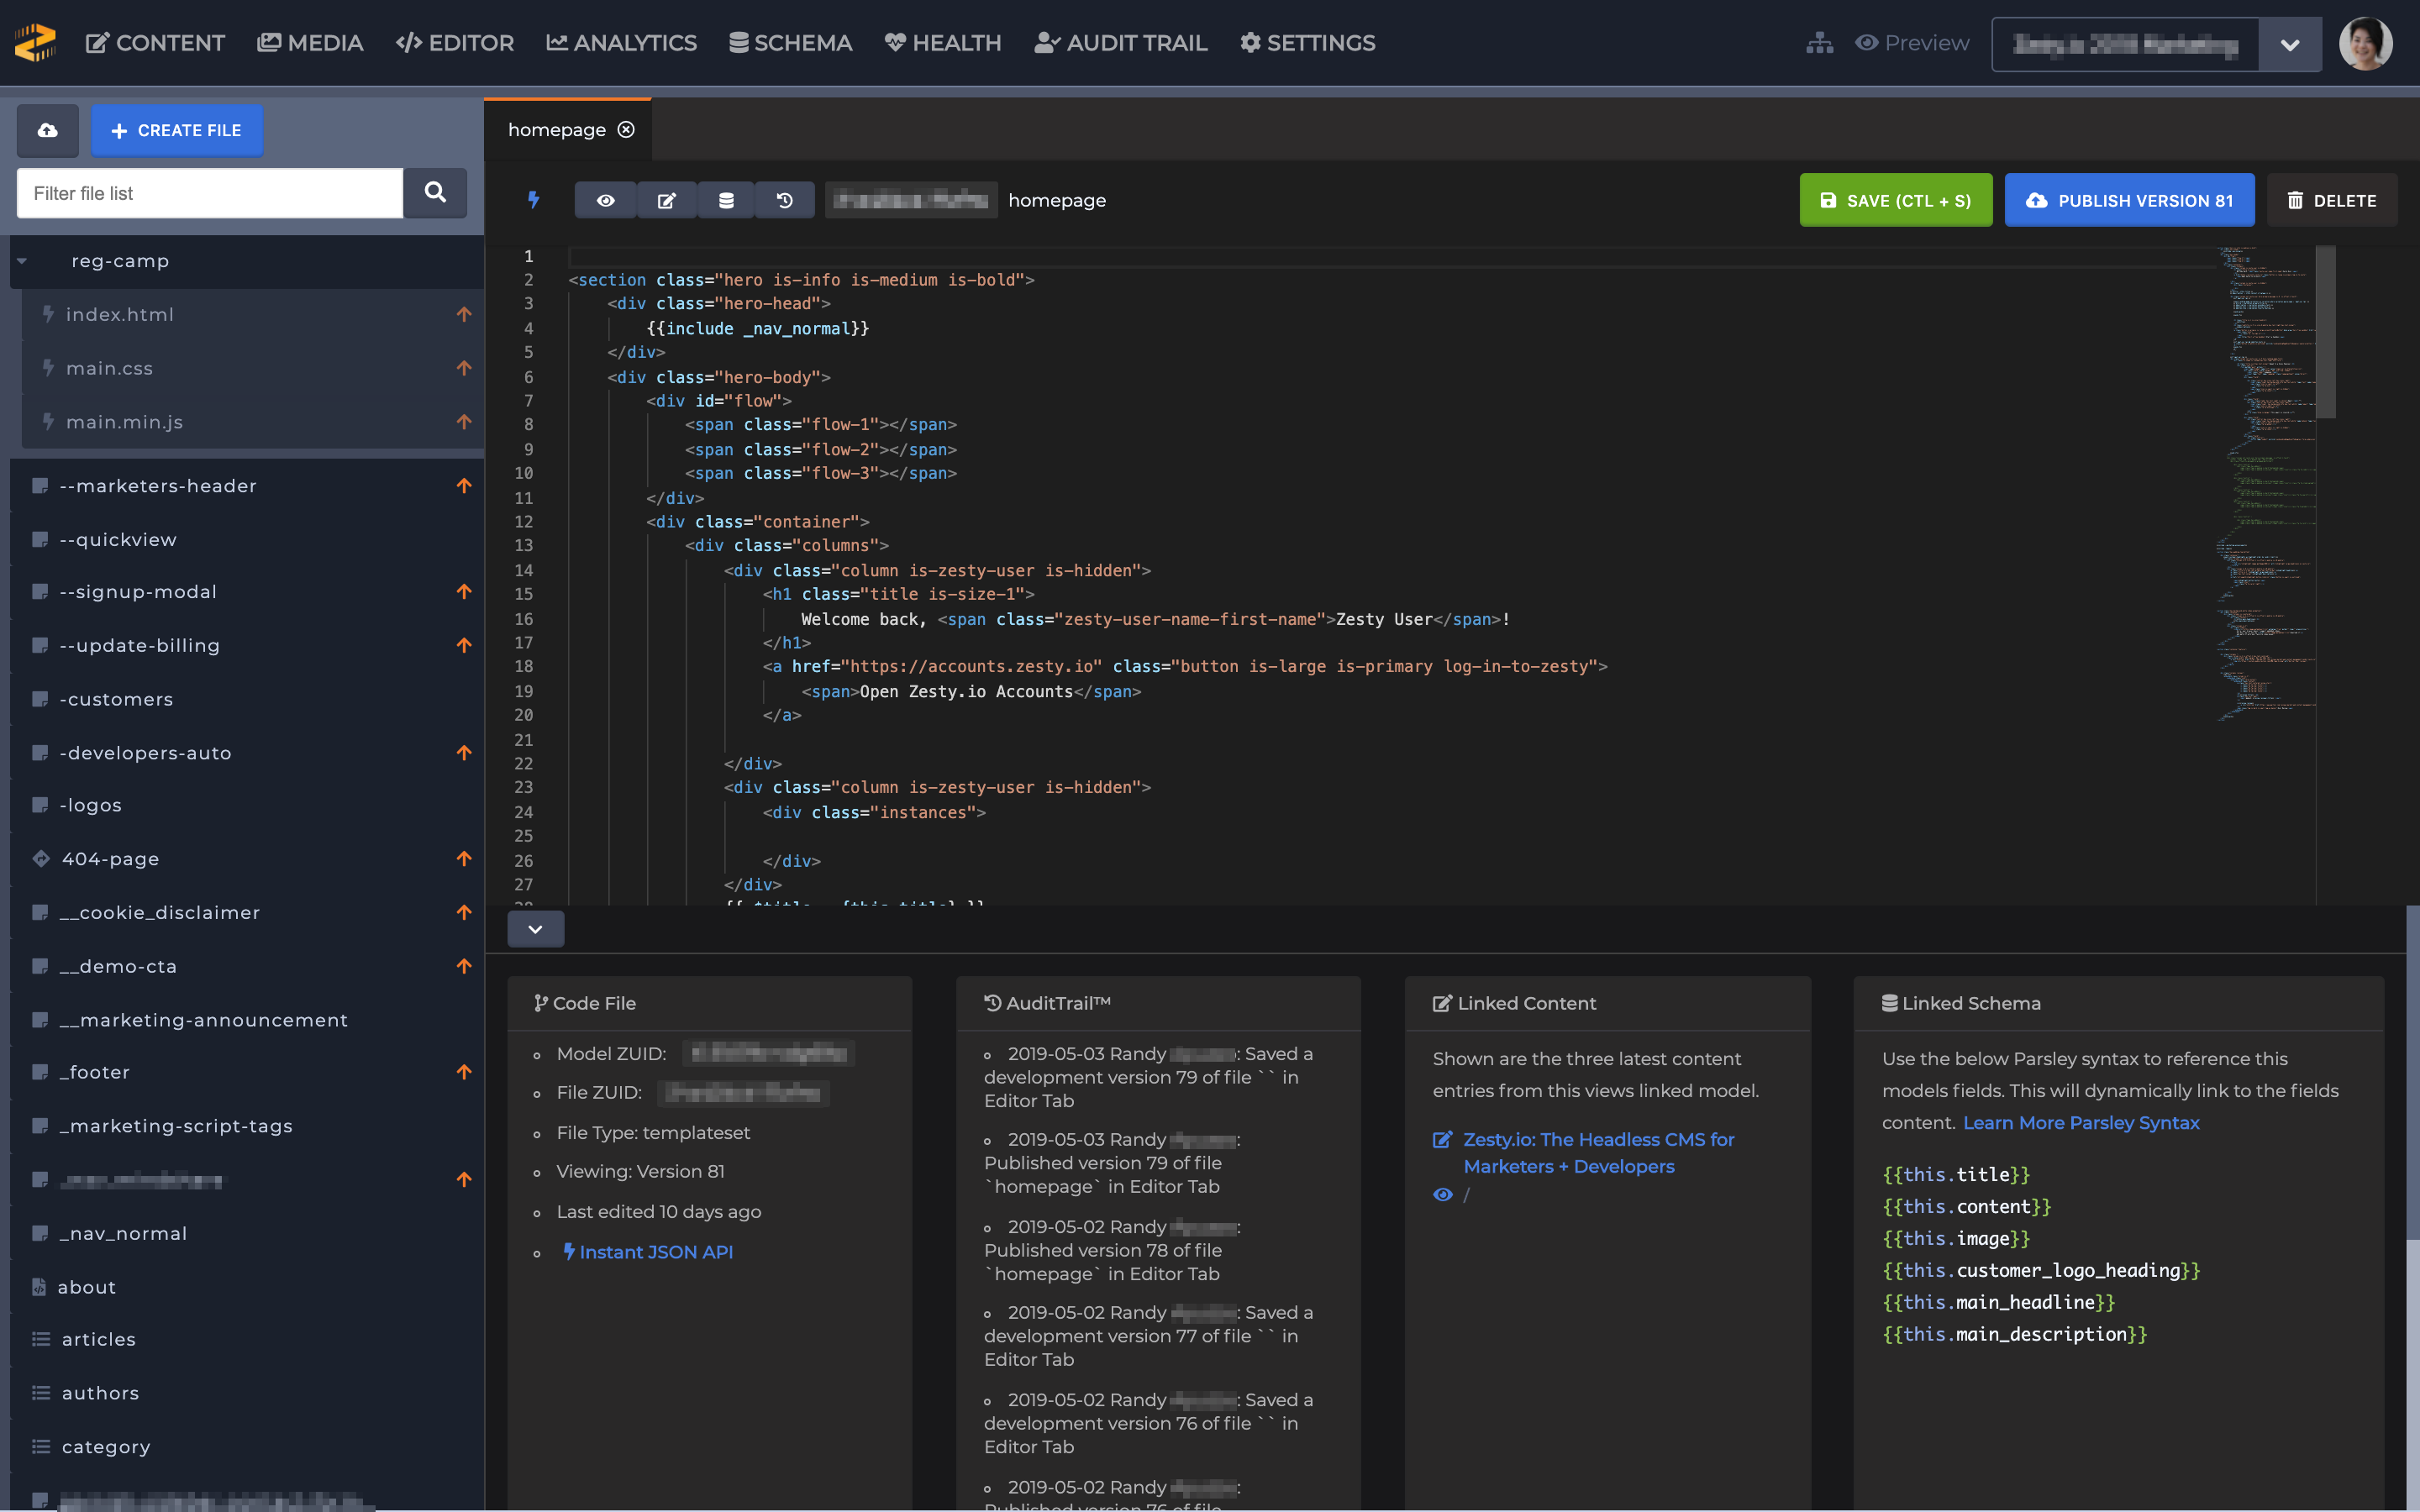
Key Workflows
I would like to go over the primary workflows within the Web IDE experience and explain how these are now accomplished.
Note: The instance URL to access the Web IDE will be changing from /editor to /code
Creating Files
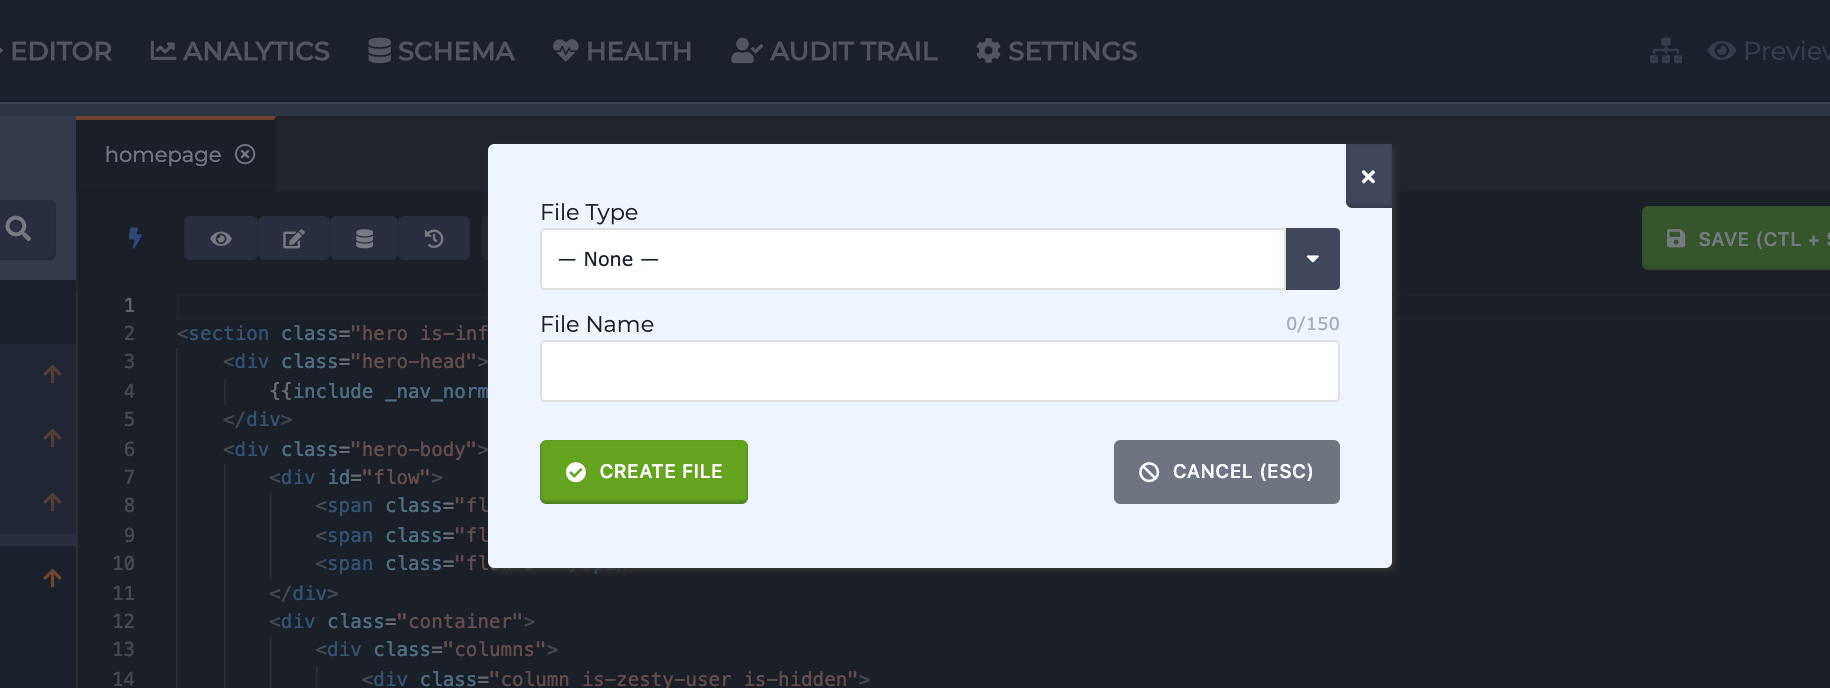
Whenever a URL-routable content model (single page or multi-page model) is created there is an associated view which is automatically created using the content model’s reference name as the view’s file name. Once a view file is created authors can begin writing code. Along with auto-generated views authors can create the following file types as necessary:
Less
SCSS
JavaScript
Snippets: Pieces of abstracted code such as Parsley and HTML which do not have a schema or url but are included in views.
Custom file types: The type is determined by the extension used when creating the file and can be included in a view or accessed with a url determined by the chosen file name.
Saving Files
When initially writing or modifying code it only exists in your browser. The new experience uses your browser's localStorage to hold onto changes, thus reducing the risk of losing in-development work, but it is still important to save your work. When saving a file it will create a new immutable version. Once saved, your code is stored on the cloud instance and available to other team members.
Saving can be accomplished with either a manual press of the green Save button or using the CMD/CTRL + S key command.  Mac systems use the CMD (Command) key while Windows and Unix systems use the CTRL (Control) key.
Note: Learn more about the Web IDE key command workflows.
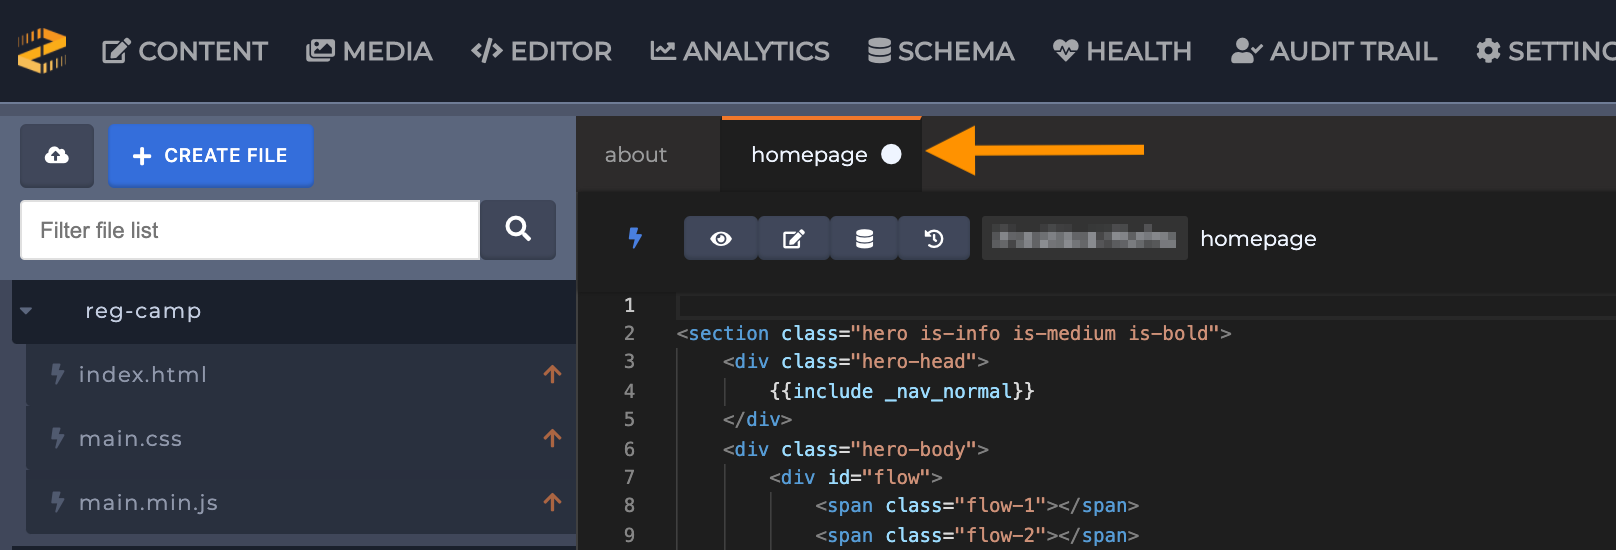
If you are working on a file and have not saved it you will see a white dot on the file tab to indicate it has changes which are not persisted.
</div> </div>
Out-of-sync files need to be "diffed" (see below Diffing Files) in order to determine which version of the code should be chosen and saved.
Publishing Files
Once you have code which is ready to be made public it will need to be published. There are a few ways this can be done. If you want to publish an individual file that can be accomplished with either the file’s "Publish Version X" button or on the file list by clicking the orange up arrow next to the file name.

Sometimes you'll have multiple files which need to be published at the same time. This can be done by using the "Publish All" button. Clicking this will open a modal showing you a list of file names and their current version. Confirming the "Publish All" action will then publish all the files shown in the list.
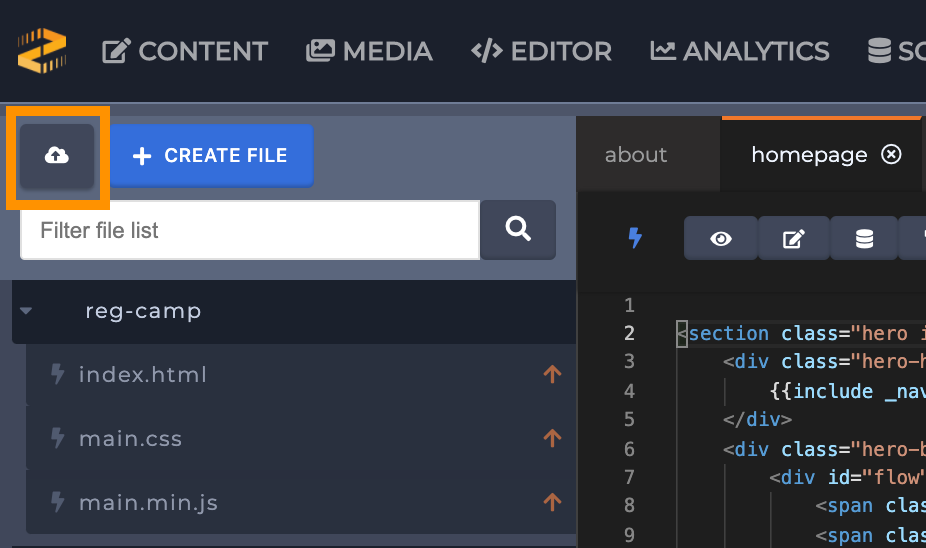
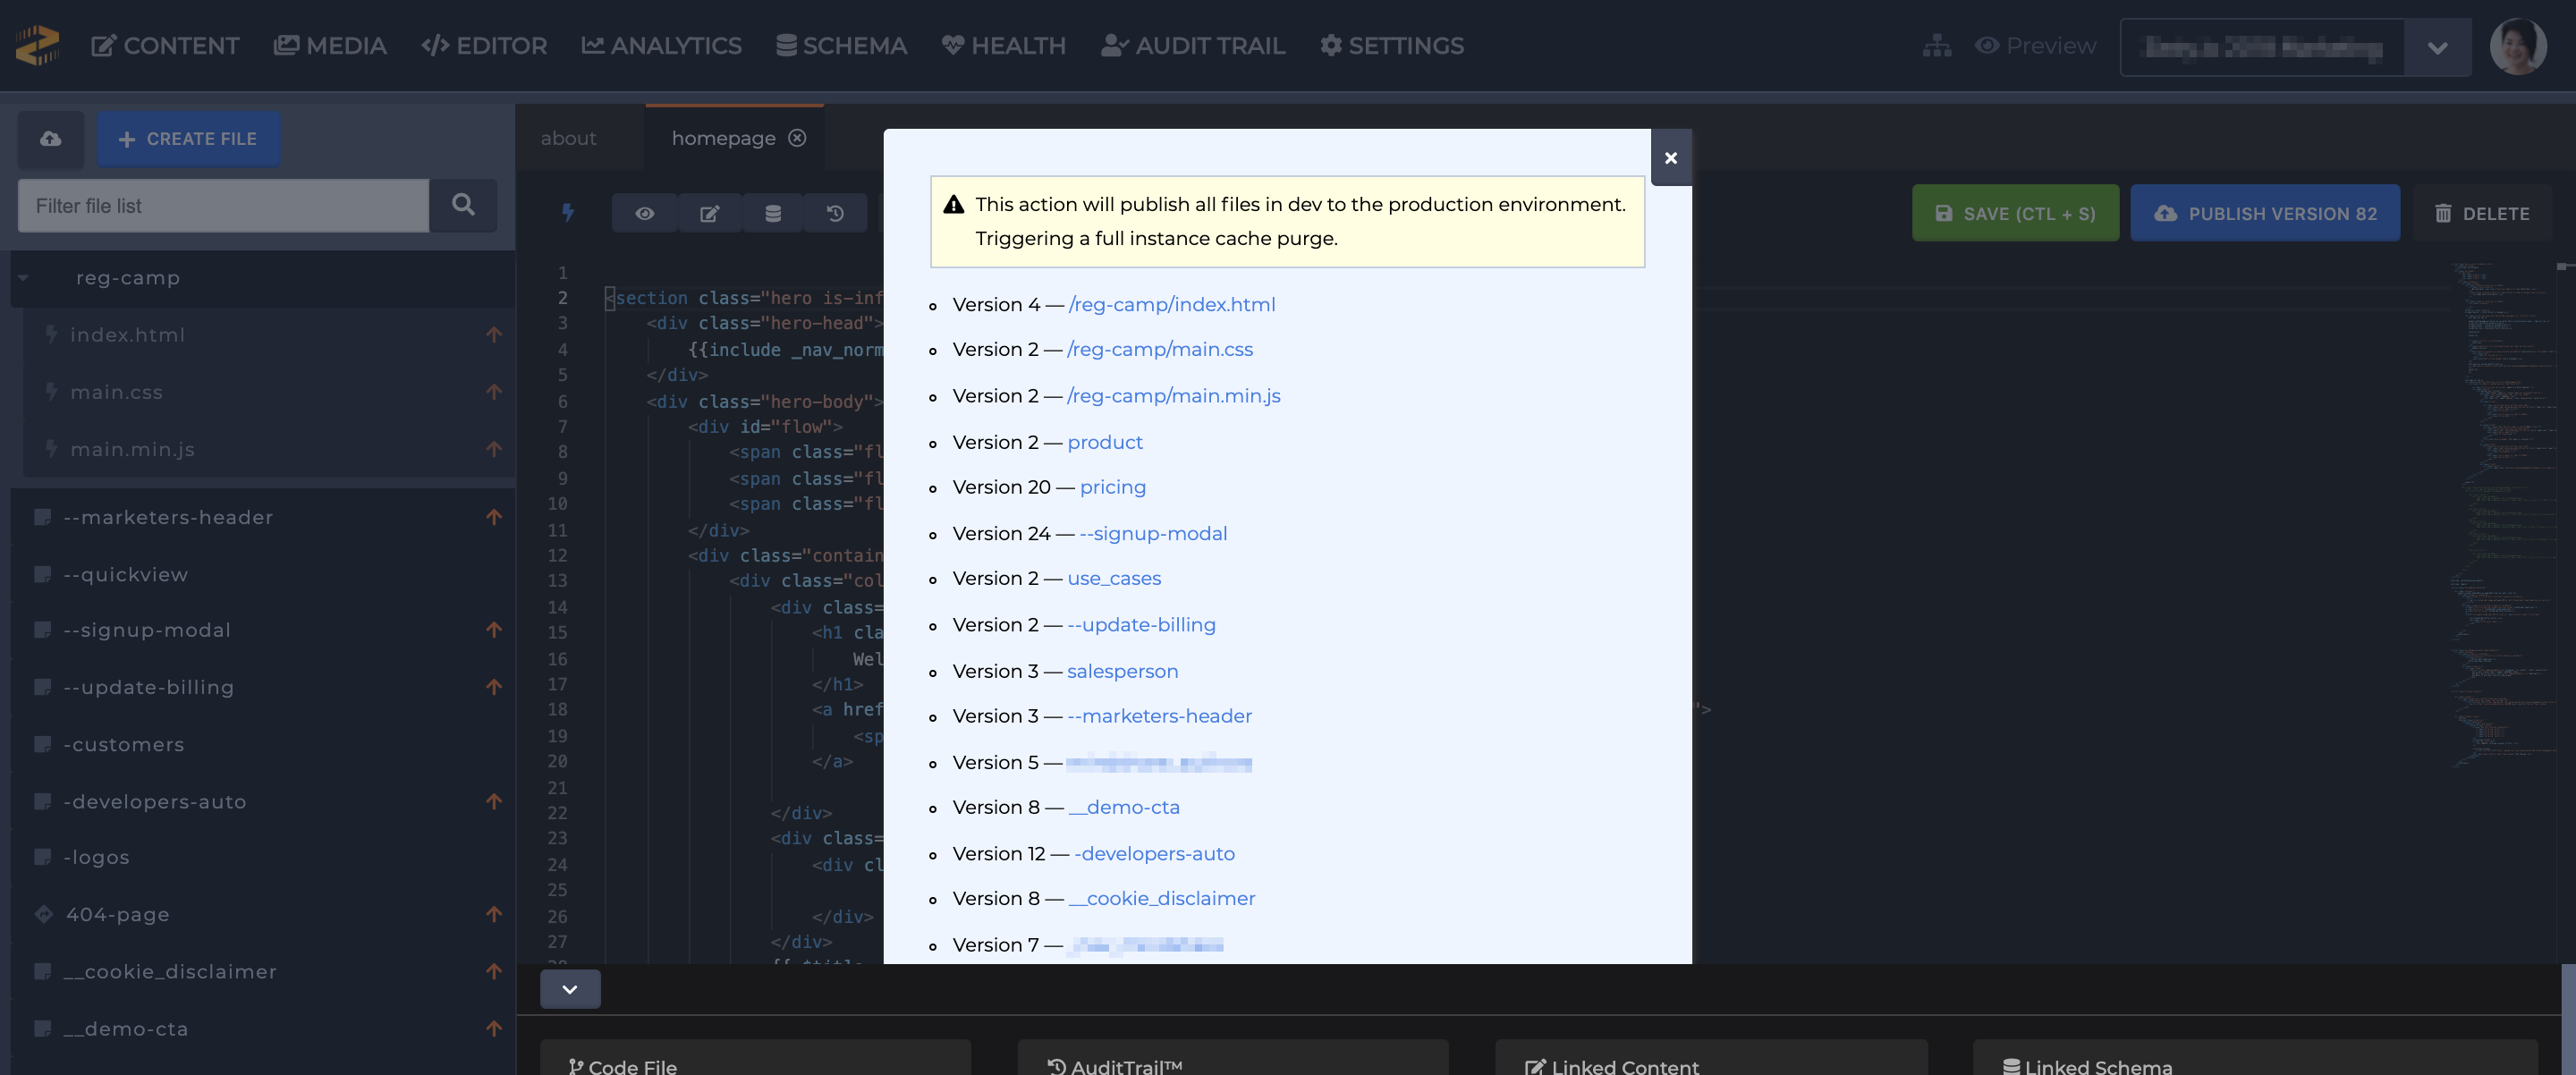
When a publish event occurs it will cause a cache purge. This is the process of telling the CDN that the file is now out of date and it should return to the origin (WebEngine) and fetch the latest version.
Diffing Files
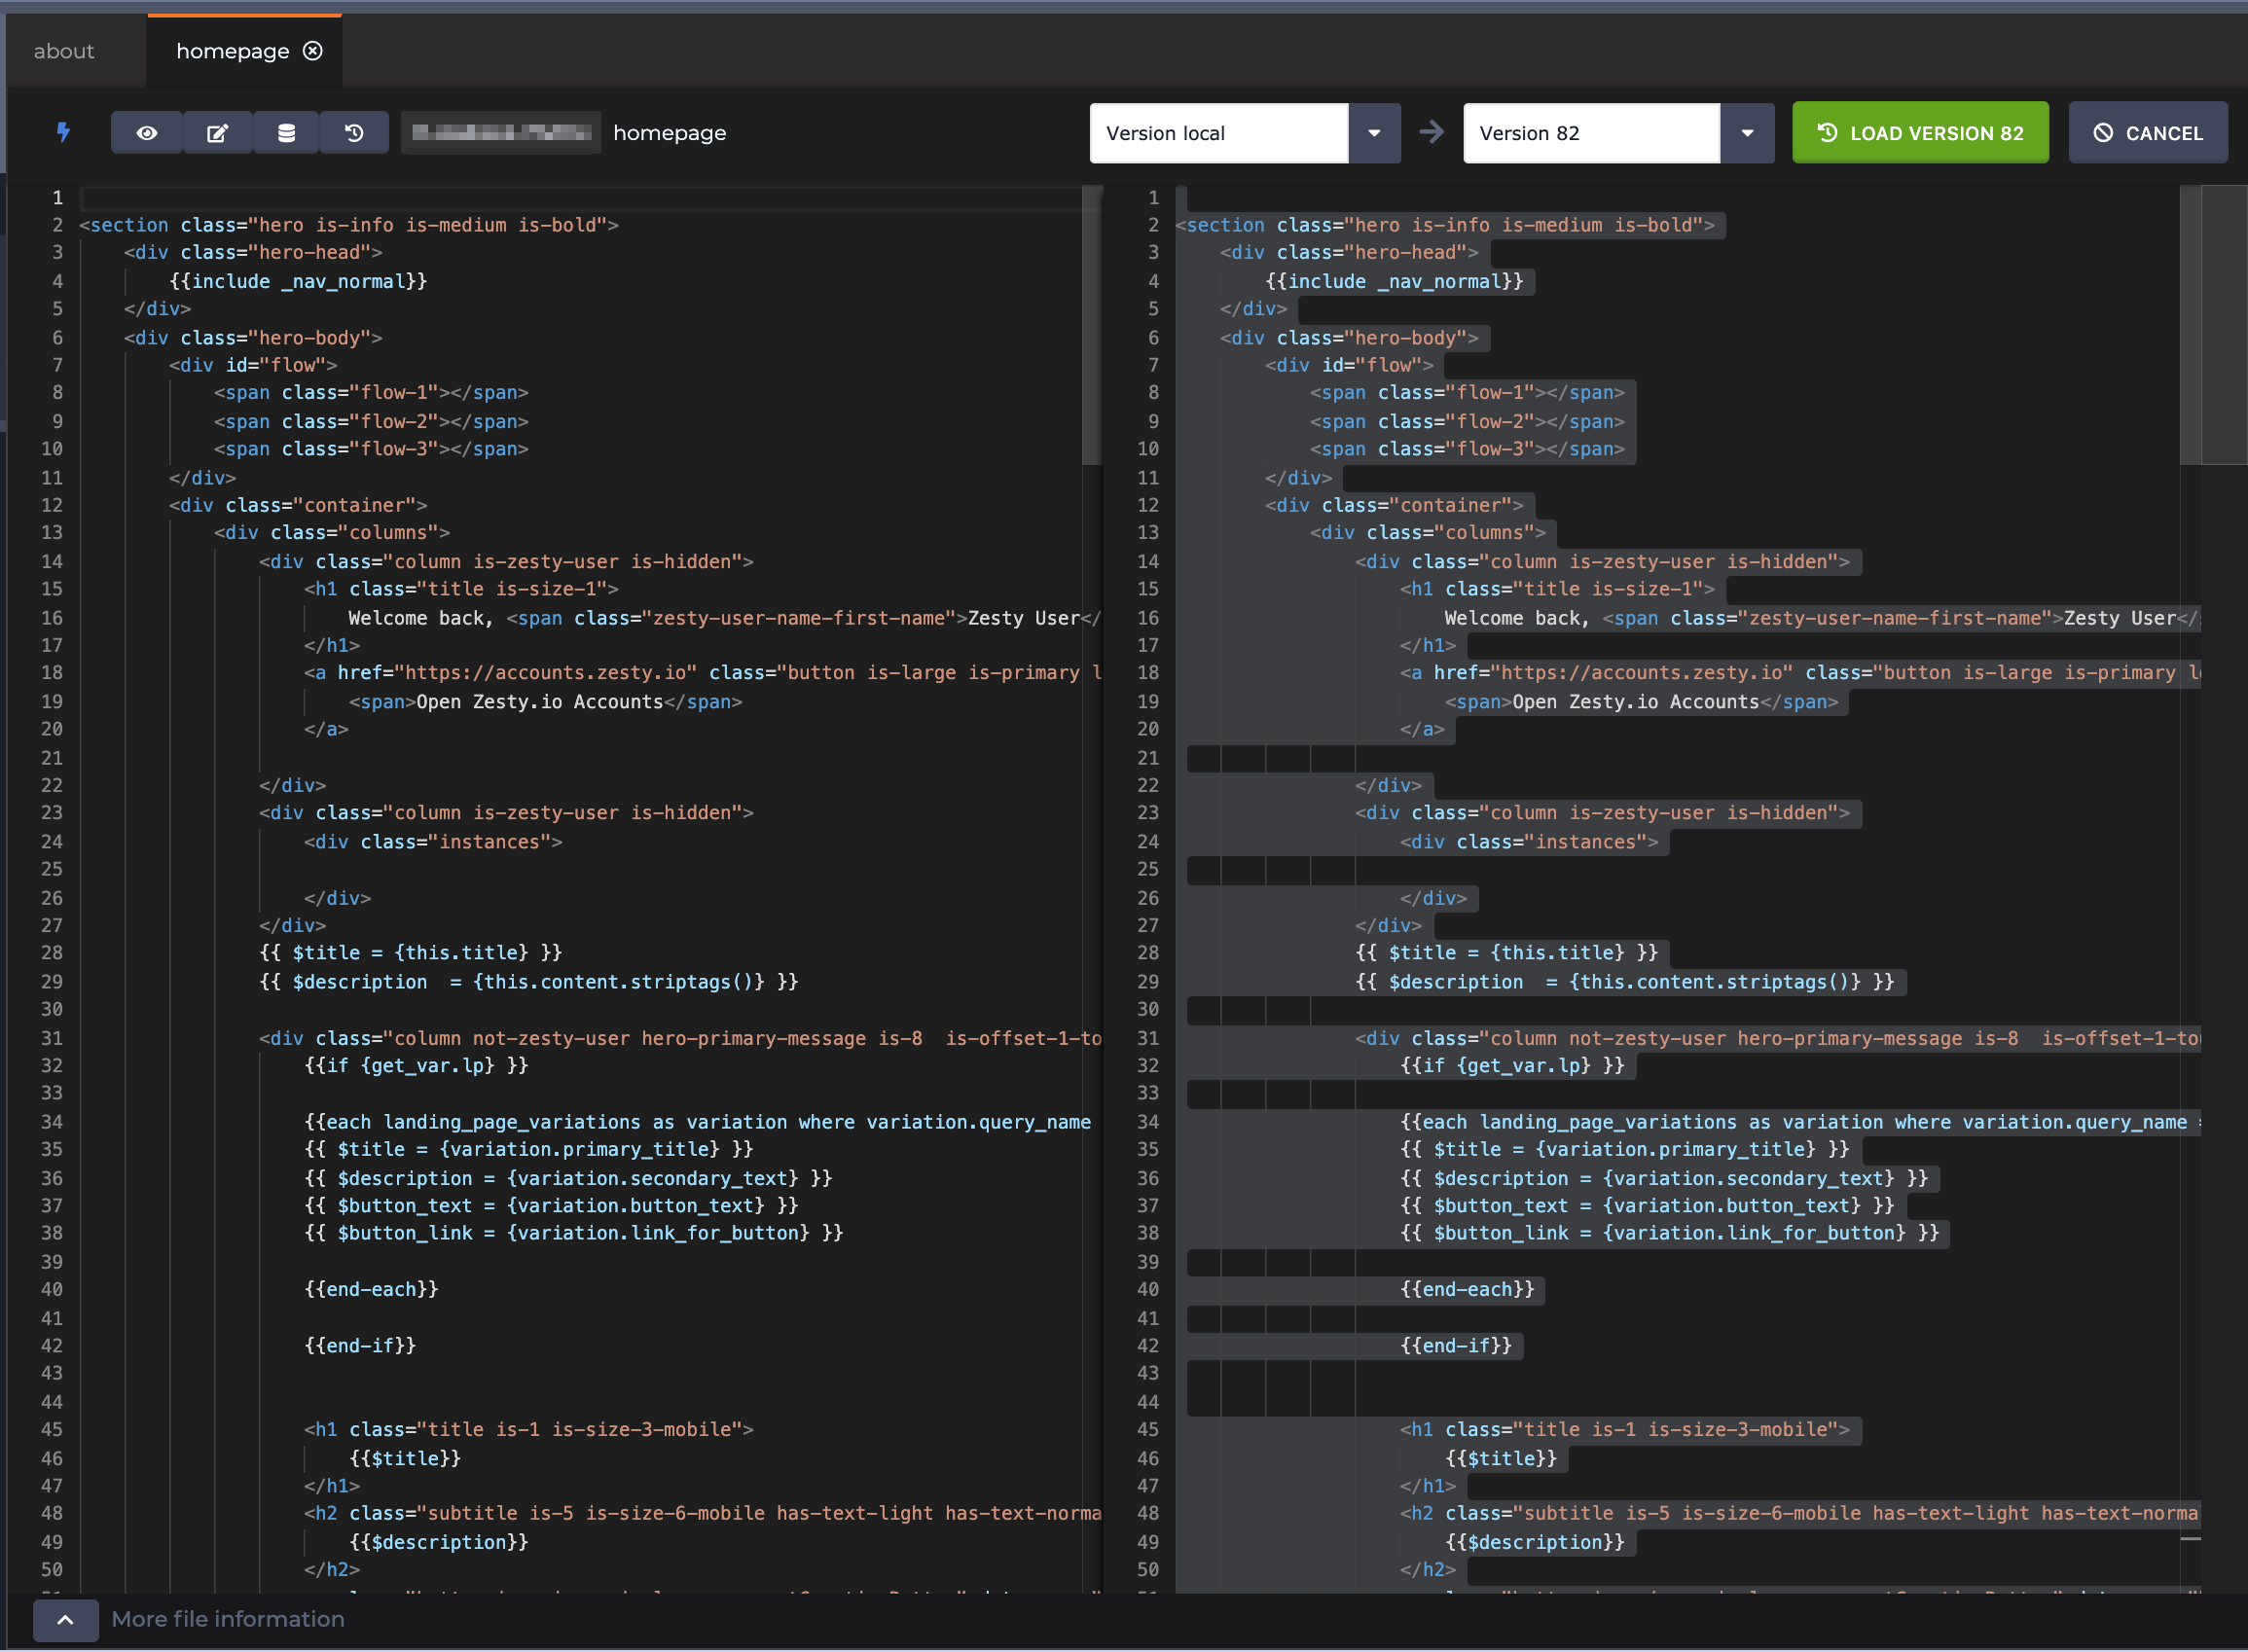
You may need to understand the difference between two versions of a code file. This can be done by using the diff button located on the file action bar.  The diff view will allow you to select two versions of the same file and see the changes that have occurred between them. This can be helpful to debug a code issue or to revert to a prior version of a file. Using the "Load Version X" button will update the code editor to the selected versions code. Once loaded you can either make additional changes to the code or save it as is.
In order to revert code you will need to follow these 3 steps.
Use the diff view to load a prior version of the code.
Save the now loaded prior version of code. Saving creates a new version. At this point you have reverted the files code.
Publish the new version. By publishing you will make the reverted code live.
For example, if I am working on version 4 but I wanted to revert to version 2, I would select and load version 2. And on save, I would create version 5. If I wanted to send that code live, I would then publish it. When accessing and restoring (saving/publishing) older versions of your code you’re creating new versions.
Ordering Files
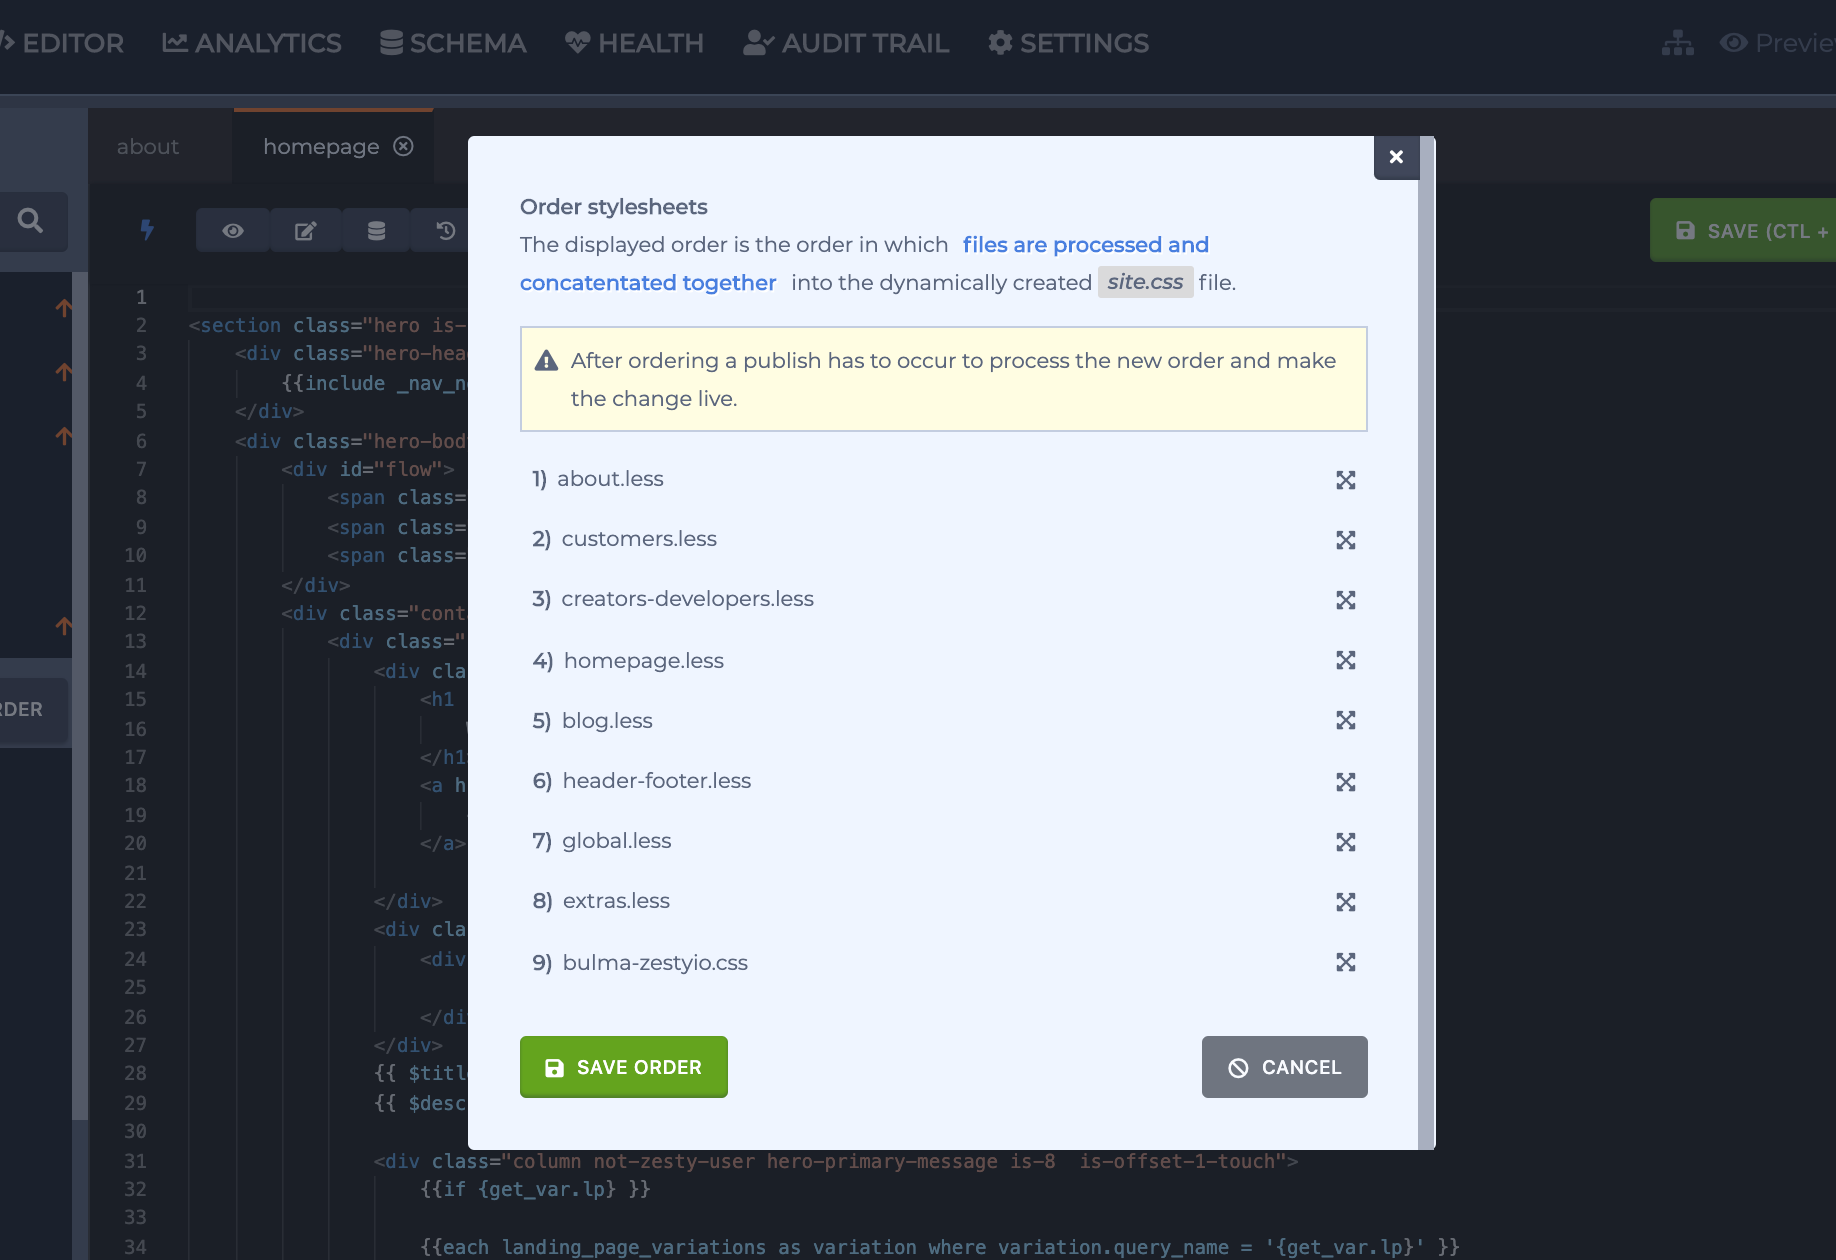
There are two key assets which are automatically generated by WebEngine, the site.css and site.js files. These dynamic files are the combination of the respective style sheet and JavaScript file types. Both CSS and JavaScript are affected by the order of the code. For example, JavaScript needs variables to be defined before they are referenced.
The reason why these combined files are automated is to follow performance best practices. By combining files you reduce the number of network requests which must be made to load a web page. This reduces network latency and avoids the per-domain network request limit.
By using the file "Order" button you can control the order in which your individual style sheet and JavaScript files are processed and combined. To learn more about the processing of these files review our documentation on CSS & JS processing flows.
File Metadata

In addition to the primary actions that code authors use the Web IDE for, there is helpful contextual file information available as well. Open the file drawer on the bottom of an open file to see this additional information.
AuditTrail
Files will show the last ten actions taken on them and by whom. This can be very useful information when learning about the current state of the file’s code.
Linked Content
Views which are created for the single-page and multi-page models will have public URLs associated with the content models’ entries. This card displays the three latest content items created. This can be great for quickly previewing code changes across multiple content entries to ensure the changes have not introduced any issues.
Linked Schema
The Linked Schema card is your source for Parsley syntax references to the fields which are available on the current file’s linked schema.
Moved Functionality
Instance Head Tags
Head tags, HTML tags which are added to the <head> of a document, can be created at three levels; item, model and instance. Instance head tags, or "global" tags, are tags which get included in the document <head> of every web page served for an instance. These were previously managed on a tab within the code drawer of the legacy /editor experience. Two tags commonly added to a document head are <script> and/or <link>. These allow including external CSS and JavaScript resources on a web page. Due to this use case it previously existed in the code editing experience. However, going forward the management of instance head tags will exist on /settings/head (Head Tags category under the Setting section) as there are additional tags which can be added and managed which are not code based.
External Editing
One of the developer workflow experiences that has been an in-development feature is the ability to author and edit code on your local computer. E.g. Our Atom.io package. This "external editing" feature has been in alpha and was initially built using user access tokens for authentication with an instance. User access tokens had some drawbacks for this type of feature, mainly session timeouts, which are now solved for with our beta release of instance access tokens. With this release the external editing feature will be moved next to where instance access tokens are created and managed in the accounts application. This is a feature we are going to continue to evolve, document and provide use case examples for.
Learn more about external editing with access tokens.
Documentation
We previously iframed in our platform documentation into the editor experience. This has been removed for security purposes. Zesty.org is now the canonical source for all platform documentation.
Removed Functionality
Quick Snippets
In the legacy code editing experience there was a feature called quick snippets. This feature allowed for defining reusable pieces of code by wrapping any code block with a ( quicksnippet )( /quicksnippet ) comment. Quick Snippets would then be made available in the code drawer across all other code files. They then could be dragged and dropped into a file to quickly add a snippet of code.
Technical Details
As developers ourselves we cannot help being excited about the new technical underpinnings of the Web IDE rebuild. We'd like to nerd out on a few of the details here.
Mentioned at the top of the article we are using React and Redux as the core foundation for this codebase. For those unfamiliar, React is the library which handles taking our components (read: user interface) and rendering them to the browser. A core philosophy of React is one-way data flow, which dictates how we architect our components and app state, and how those interact.
Along with these we are using react-router to handle our application URLs. It's a fantastic library that simplifies our ability to match views to their URLs. Making it possible for us to allow deep links to very specific application states/views.
We use Redux to manage application state. There is a lot of community discussion on whether Redux is still necessary with the latest React features. For a product surface of our size we find it integral to our ability to maintain and reason about our application state during runtime. It brings consistency to our application architecture around state management, allowing for quicker changes to features after they are released and have aged.
For the specific task of authoring code we are using the Microsoft Monaco code editor. This is the same library used within the Visual Studio Code desktop application. Meaning if you use VS Code the new Web IDE experience will feel very familiar.
We are extremely grateful to the wonderful open source community which has made these resources available. Without which we would not have been able to accomplish this rebuild in the time we did. Contributing back to the community is a large part of why we are working towards open sourcing our user interfaces. Currently we are aiming for version 2.0 of Zesty.io to be available this summer.
We are very excited about this new experience and cannot wait for you to start using it. Whether you are new to Zesty.io or a seasoned pro we would love to hear your feedback. Connect with us on chat.zesty.io
New to Zesty.io and want to see our new Web IDE experience?
Get Started with a Free Sandbox.
----
Learn more about our Web IDE at Zesty.org.
Update: Post Release Notes
Part of our Web IDE release includes data migrations which correct and update how we handle code versioning. Some file records did not contain version or published version data. As well as some version numbers were duplicated. When correcting this data in order to determine what should be the next available version we needed to total all existing versions. This results in two situations which might be confusing so we are describing them here to help you understand what is occurring.
A file showing as needing to be published when there are no changes. This is due to once the current version is determined and set it now is ahead of the latest published version. Which triggers the Web IDE to display that it needs to be published. You can either publish the file or continue to work on it and when ready save and publish.
Version gaps within the diffing view version list. Because of the inconsistency of legacy Editor's versioning (which is now fixed) when we totaled a file's version records to determine the next available version this sometimes resulted in it being larger than the prior version number. When you next save the file it will bump the version up to the next increment.
By Stuart Runyan
Developing web technologies is my passion! I'm focused on creating applications and experiences to solve the problems which today's digital marketers face. I believe in web standards, a mobile first approach, access for everyone, open source software and the democratization of information. My goal is to continue the Internet being pure awesome!